![]() |
| British Fleet Crossing the Cannel |
![]() |
| The Two Fleets First Approaching. Seen from Behind the French Position Sailing over Caen. |
![]() |
| British Fleet Crossing the Cannel |
![]() |
| The Two Fleets First Approaching. Seen from Behind the French Position Sailing over Caen. |
This weeks Wednesday's we played a learning game of Sword and Spear Ancients and Medieval rules. This matched the Imperial Romans against the Celts. The rules threw a lot of new concepts at the group, and it took a bit of time for us to catch on. First is the Activation Systems that uses player specific colored dice randomly drawn in batches. In our case this was 11 dice at a time with 36 dice available. The side that gets the most dice in a draw has the initiative during the phase and goes first. Dice are then rolled and assigned to individual units to activate. Dice rolls too low to work, typically 1s and 2s are discard and 6s give a benefit to movement, or to combat, with the option being up to the player at the time of use. Units are then moved from lowest value up, so 3s, followed by 4, etc., initiative players first. Combat, be it shooting or close combat is resolved immediately. A unit in close combat without an activation die forfeits its activation options and receives an undrawn die from the bag to note this. There are plenty of details I left out, but this was a real key to game play.
The second concept was all combat is using opposing die rolls. You create a die pool from your base combat ability, any movement and terrain effects, and any skills that the unit's possess. These are rolled and match up in descending order. Any unequal dice are match to a virtual 2 that can cause no damage to the opponent but can prevent damage to the shortfall side. An equal roll is no effect. A higher roll causes a check to see if it caused damage, this is typically a 4+ save, A roll that is double or better automatically causes damage. There are a number of skills that can modify dice rolls and effects, but this is the basics.
Once we got the hang of how all this worked the game moved along at a fairly quick pace. The final outcome was a draw, and everyone seemed to have a good time. I am sure these rules will be played again in the near future. I was rather involved in the learning process, so I nearly forgot to take pictures. Here are the few I did take.
![]() |
| The Game in Action About Mid Battle. Celts on the Left, Romans on the Right. The Blue Dice You See are the Activation Dice for that Contingent of Romans. |
![]() |
| My Celtic Cavalry Pouring in on the Roman Rear. Entering the Table was as Far as I got Before Real-World Issues Required me to Leave. |
![]() |
| Dutch Fleet Moving into Combat Range. |
![]() |
| The Japanese have not Gotten Away Unscathed. The Lead Cruiser Has Taken Some Serious Damage and They Have Already Lost a Number of Destroyers, Including One to Their Own Fleets Torpedoes. |
Having played in the last game as the Catholic right wing cavalry commander, this time I was given the job of the Protestant left wing cavalry commander. I needed to come up with a plan to counter what I expected the Catholics to do from the previous battle. How did this go? Read on to find out.
![]() |
| In the Center Our Infantry has Stabilized the Line and off screen to the Right has Even Begun to Push Back and Even Destroy Some of the Catholic Supporting Cavalry on This Flank. |
![]() |
| In the Center the Protestant Infantry is Desperately Holding on, but Time and Losses have Run Out for the Catholics. A complete Reversal of the Previous Game. |
![]() |
| The UPC's Right Flank Advancing Against the Thin White Line of the Empire. Both the Light and Line Infantry of the UPC are Already Suffering Casualties. |
![]() |
| While the Empire's Center is Still Holding the Writing is on the Wall, with Nearly the Entire Empire Left Flank Having Been Driven Off. |
![]() |
| On the Empire Right Their Cavalry is Being Steadily Driven Back. The Empire was Losing Squadrons Faster than the New Ones Could Take Their Place. |
![]() |
| The UPC Raiders Await the Pursing Empire Forces at the Deer River Bridge. |
The Empire army being led by general Birdinmowthe is fully aware of the local area, and in anticipation of just such a move has sent flanking forces to cross the Deer River further to both the east and west in hope of trapping the UPC raiders.
![]() |
| As the UPC Await the Empire's Forces Begin to Converge from the East and the North. |
![]() |
| The UPC Begins its Withdraw South as the Empire Army is Converging from all Directions. |
![]() |
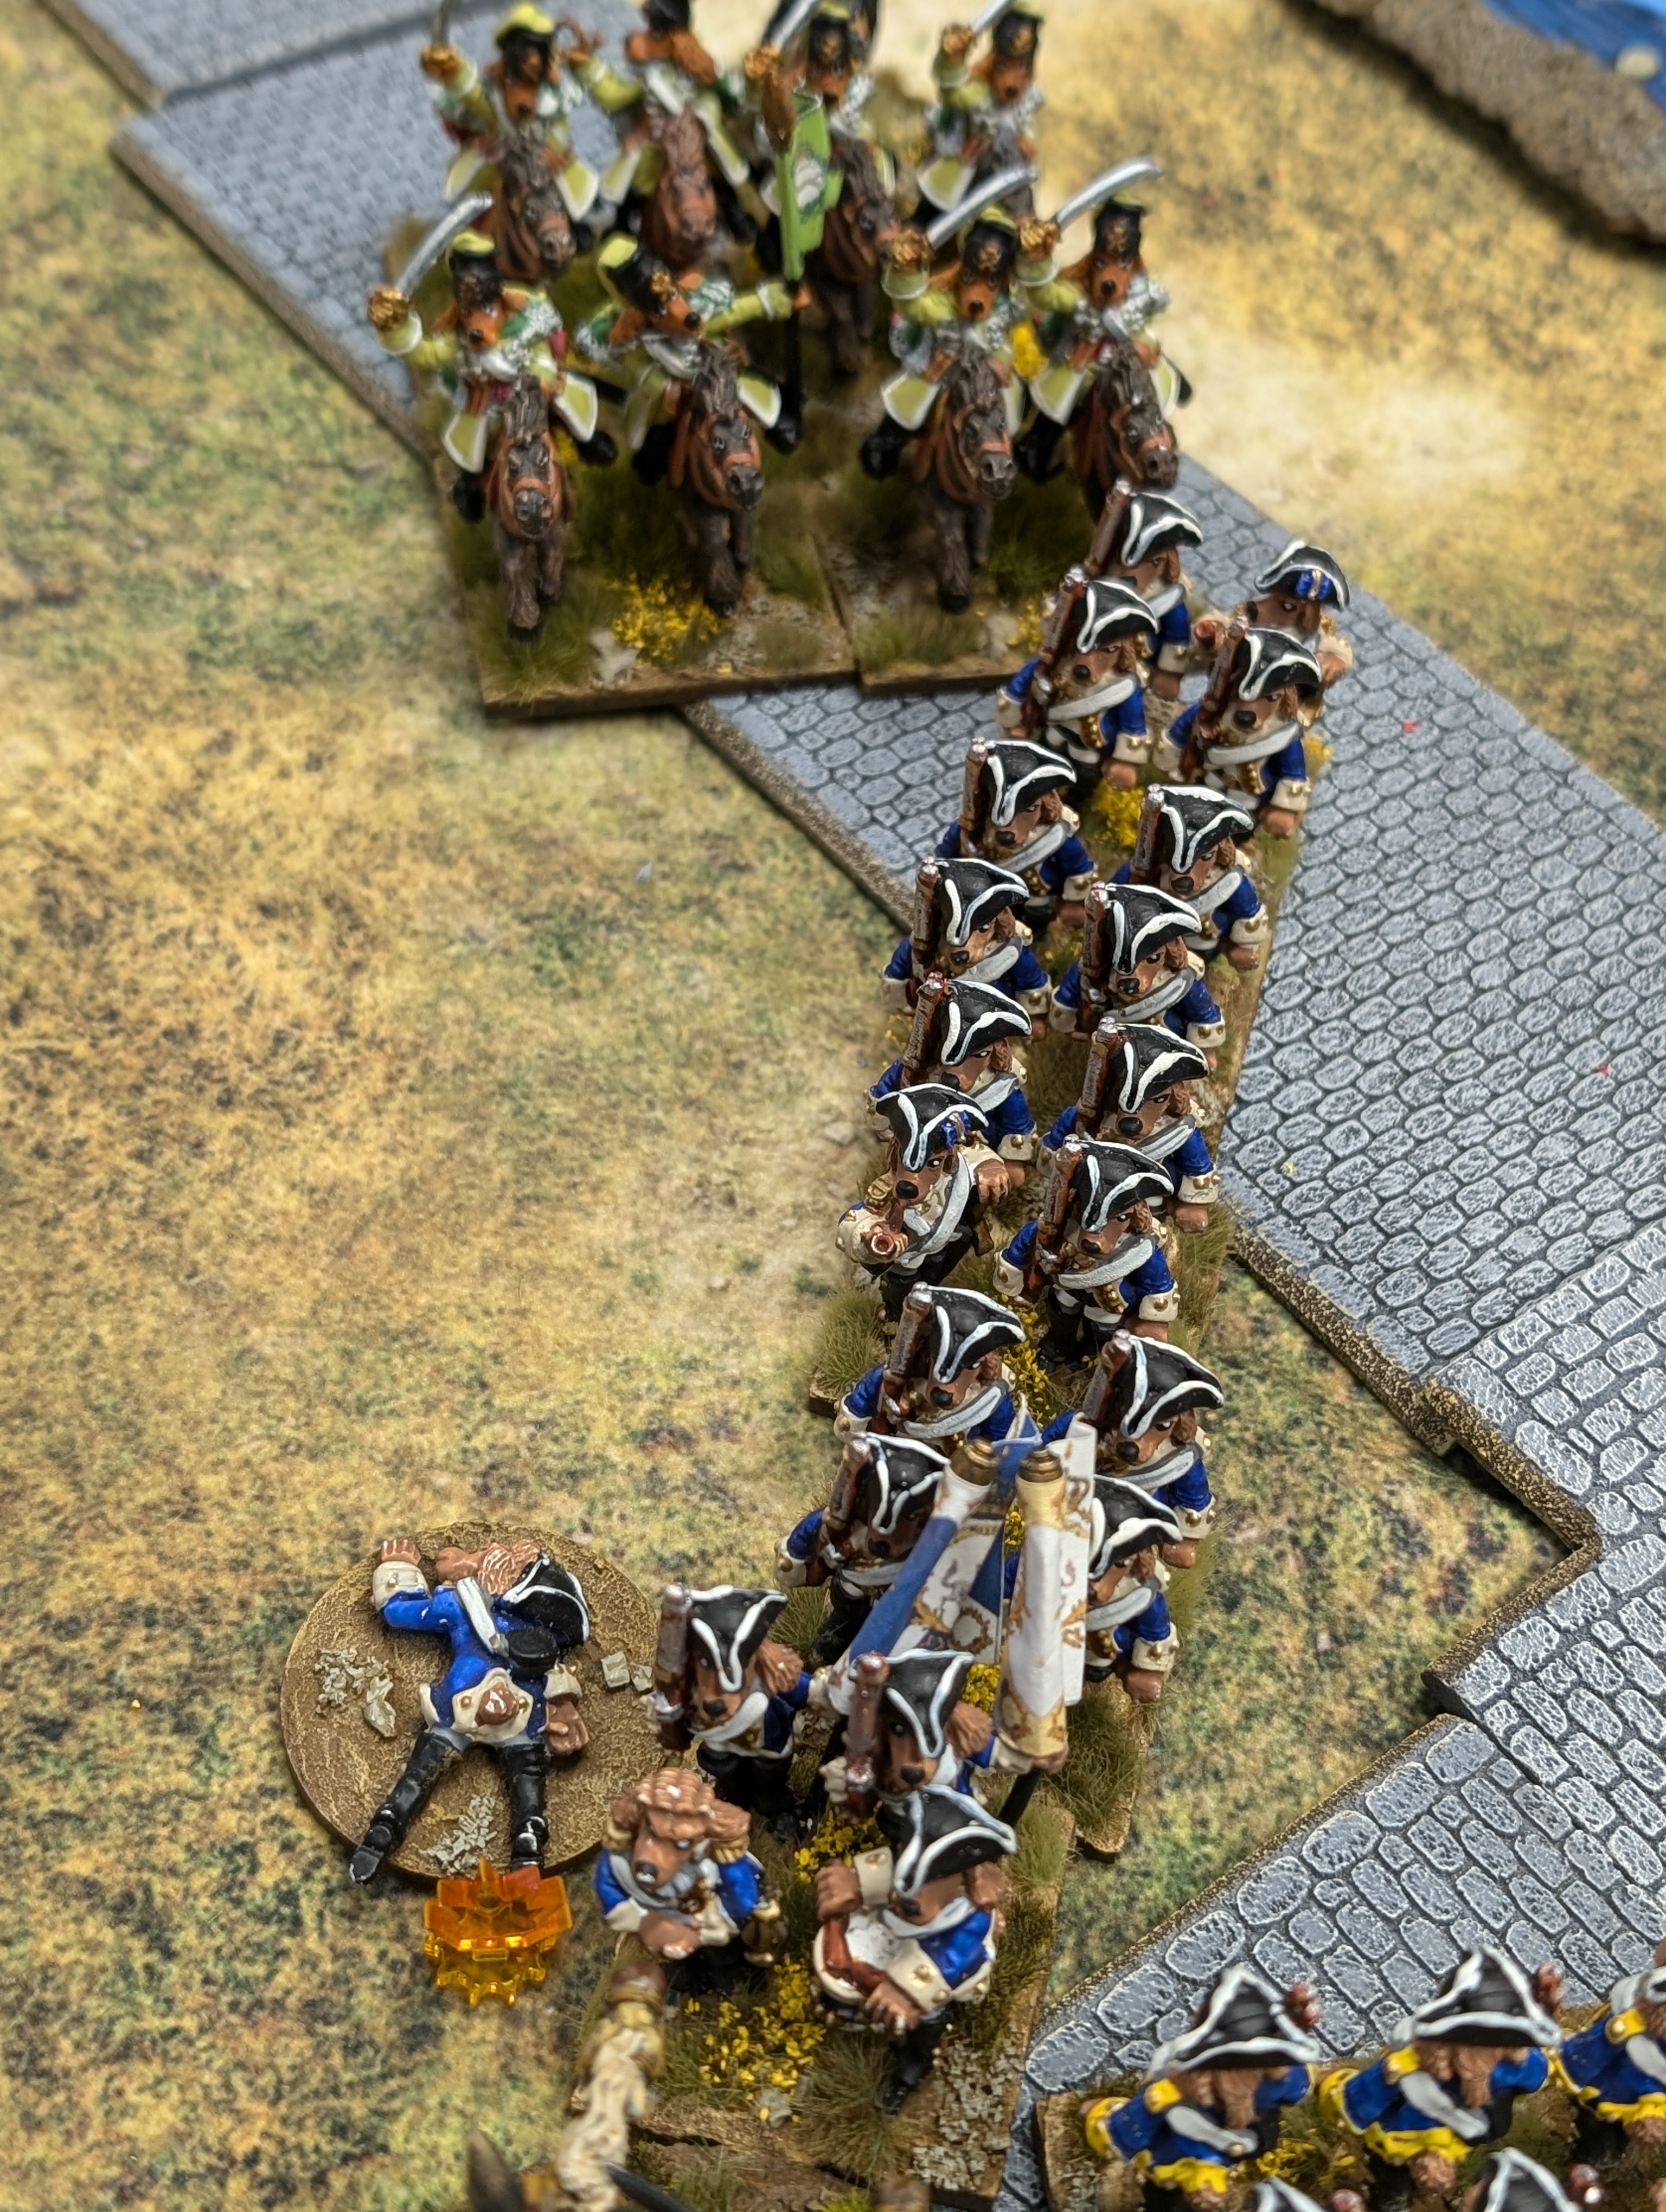
| First Clash as the Empire's Pawsworth's Regiment of Dragoons Who are Blocking the Southern Road are Charge by the Full Weight of the UPC Cavalry Led by Woofington's Cuirassier. |
![]() |
| The Battle Continues to Unfold as the UPC Withdraws from Their River Line Trying to Extract the Army South. |
![]() |
| Having Cleared the Way, The UPC has Formed a Corridor for Their Artillery to Pass Safely Down. |
![]() |
| The Empire's Quick's Hussars Attack the UPC's Begsforth's Lights in an Attempt to Breach the Eastern Position. |
![]() |
| At the Deer River Bridge the Empire's Lord Pawling's Cuirassier Storm Across to Engage the UPC's Shepard's Line Battalion. |
![]() |
| On the Western Flank Husky's Battalion is Caught in Column from the Rear by the Empire's Lord Saluki's Hussars. |
![]() |
| With Husky's Destroyed, Shepard's and Begsforth's both Driven well back and Bearly Hanging on, the Deer River Bridge is Now Open for the Empires Remaining Forces to Cross. |
![]() |
| Even With Those Disasters the Corridor South is Still Open Allowing the UPC a Chance to Escape. |
![]() |
| With the Loss of All the Defenders Near the Bridge and the Empire's Cavalry now Massing to the North, the UPC Begins Withdrawing Along the South Road. |
![]() |
| With the Majority of the UPC Infantry Leaving by the South Road Their Cavalry Advances in What Looks to be a Shift to Escape by the Western Road. |
![]() |
| UPC Infantry Attempting to Exit Via the South is Becoming Surrounded by Empire Forces. |
![]() |
| The Empire Begins Shifting to Halt Any Attempt by the UPC to Head Off to the West. |
![]() |
| UPC Cavalry Shifting Back South Finds the Road Blocked by Empire Hussars. They have no Choice but to Fight Their Way Through Before the Empire's Infantry can Close. |
![]() |
| At the Cost of the Loss of Another Cavalry Unit the UPC Manages to Withdraw the Last Remnants of Their Raiders just as the Sun Sets and Ends the Empire's Ability to Pursue. |
British Fleet Crossing the Cannel On Wednesday we played a very large game of Leviathans, the flying ship game by Catalyst Game Labs. This m...